Progress Spring Install
Install Time: 5-8 hours
Cost: $425 (I got a $300 estimate for an install so do this yourself!)
Difficulty: Medium
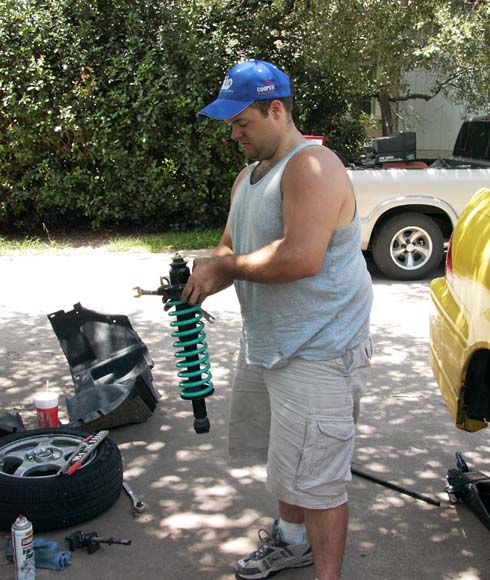
Alright, prep yourself for a good 3-6 hour day!! This is a two person job so don't skimp!! Myself and my buddy "Ballz" (Dan) started around 11am and finished around 7pm (several breaks and lunch and dinner) Though it looks like Ballz is doing all the work he is simply a photo stand in!! I did everything and he only posed for the photo's that bastard!! Ok, well he helped alot really and I would probably still be out in the driveway with a screw driver poking myself =)
NO bump stops were cut or trimmed in this install. I called RRM just to find out what the hell a bump stop was and was told that Progress now recommends that the stops NOT be cut. So we considered ourself lucky and saved ourselves a step. Ok, now to the hard part... installing...
Step #1
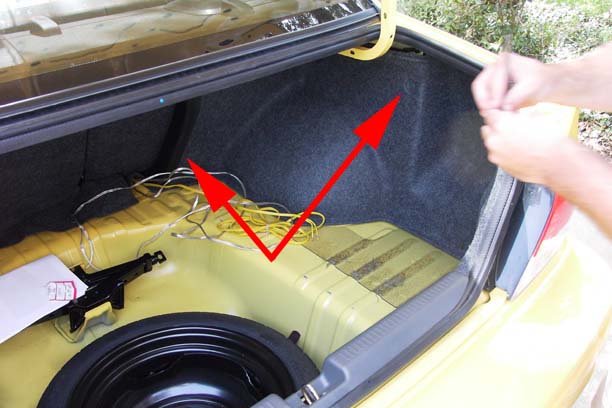
Gently remove all the button pops that hold the molded carpet in place. You'll need to remove the plastic molding which outlines the back seat. Use extra special care when removing the button pops or see your local dealer for replacements. To this day we have not found out what the blue dot does... mysteries of the unknown!!
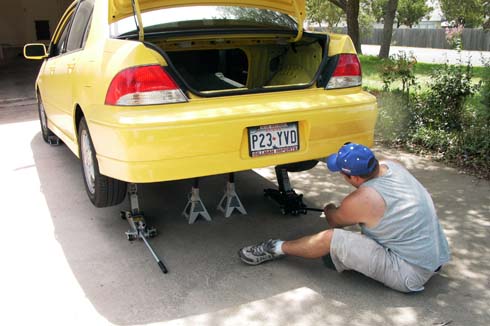
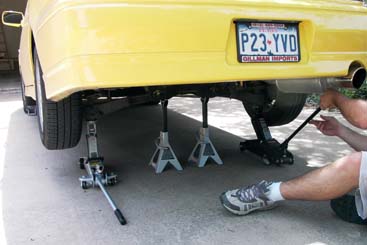
Step #2 Jack the rear up it is as I found easier to loosen the rear upper strut bolts while the car in on the ground as jacking it up makes reaching into the trunk one of those "Tall" people chores and with most of the nation being normal and not giants any time we can do something easier I'm all for it. We placed the jack stands under the rear axel and jacked it up via the strut base. This worked like a charm.
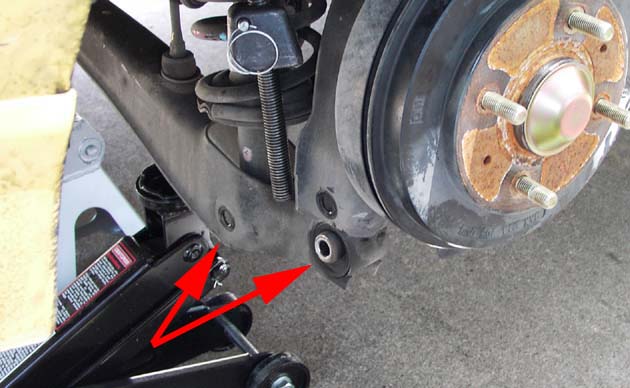
Step #4 Remove the two 17mm bolts from the strut base and the control arm. (note there is NO NEED to use the spring compressor yet.. We were a bit on edge from horror stories and the fact we'd never taken a spring off before. You learn it's natures way of making sure you don't die =)
Do both sides at the same time as this will allow some play in the axel so you can push down to remove the strut. (we used an air wrench as well and this made the job a LOT easier as no one was heaving and gasping in musle spasms try to loosen these factory tightend bolts.
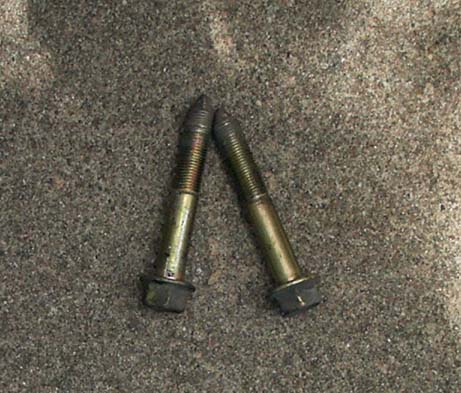
The bolts are displayed below.
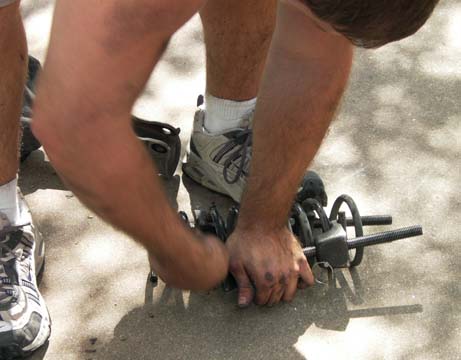
Step #5 Apply the spring compressors (this is HIGHLY recommended and can be gotten from your local AutoZone for 43 dollars. This allows you to "borrow" tool for as LONG as you need it. I asked and they said.. I could keep it until for days if I needed to. (they take a check and give you cash back)
Compress the spring to about 1.5 to 2 inches, make sure you turn them in alternating turns, do one side a few turns then repeat the other. This prevents the spring from distorting and compressing unevenly.
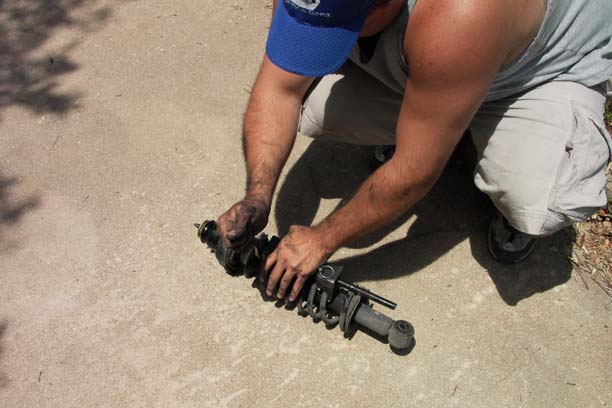
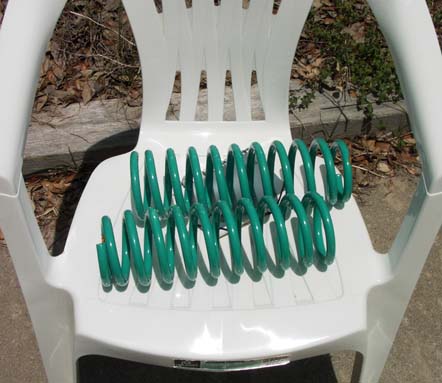
The rear springs are much smaller and tightly wound then the front. I would say it's fully optional if you want to paint them before install another color or go with the default aqua. Because the springs coils will rub (first few top and bottom ones) I think painting them is a viable option and you don't need to worry about "powder coating" that much. I also tool the oppertunity to clean the strut with some soap and water and re-conditioned the rubber with a sylicone based cleaner.
Step #6 Remove the upper strut nut, with the air wrench this is easy and quick. After the nut is off the top assembly comes right off and you can slid the old spring off and put the new spring on. NOTE!! there is a thin gasket which goes over the top of the assembly. This prevents water from entering your trunk from the top of the strut. PLEASE don't forget these as they can be a bitch to put on after the fact. (experience learned!)
Make sure you line the ends of the spring into the grooves. Alignment is automatic when you re-assemble and you do not need to line that much up. Also note that no compressor is needed to re-assemble. Just slide the spring on!!
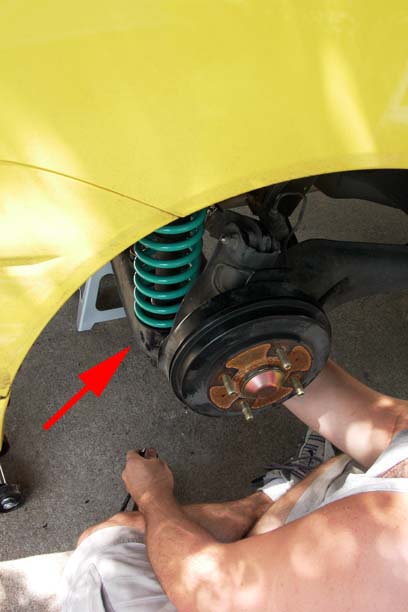
Step #7 Fit the strut back up into the wheel well and only for now do the bolts on the top of the strut in the trunk. Now from here repeat these steps on the other side. Do NOT re-assemble and put in the two 17mm bolts yet. After you get the other side done and in place then install the bolts. We found it was easy if you installed the upper bolt that connects from the control arm to the rear drum that if one person pushed down on the rear drum while the other lined up the bottom most bolt hole was a lot easier.
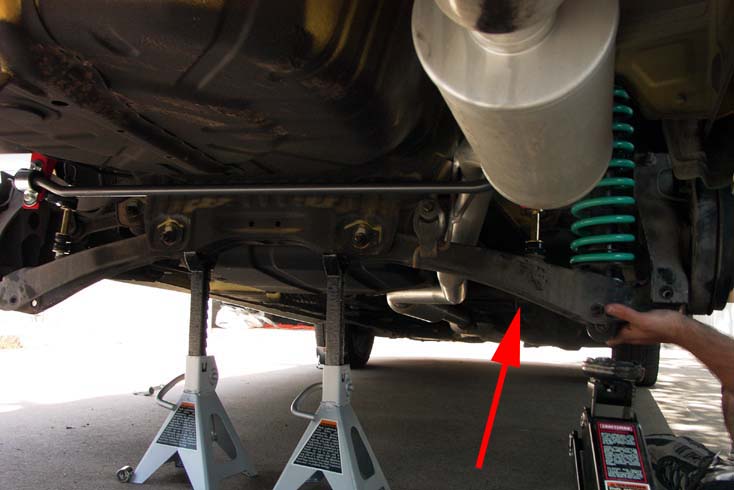
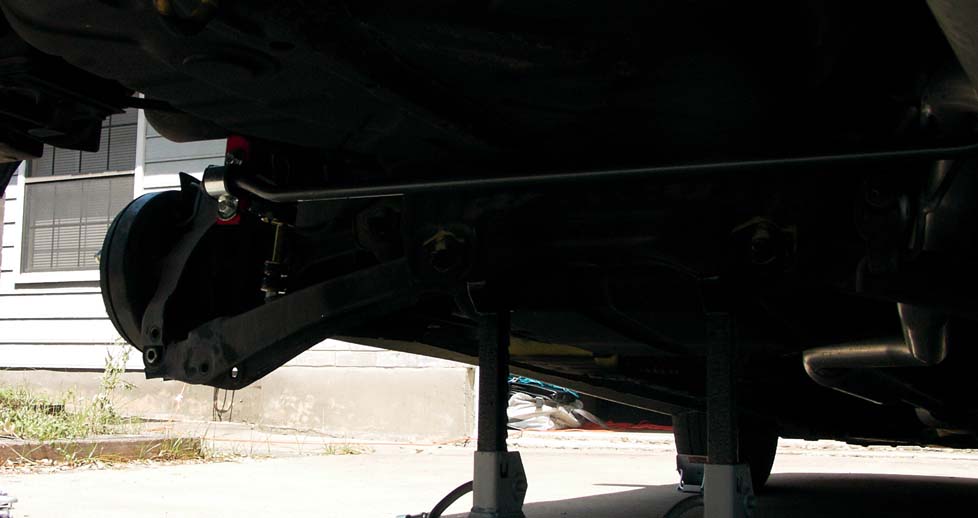
Alternate Steps!!!! I had the rear sway bar sitting around from RRM sitting around along with the Autocross perches. Since the back was already jacked up and the assembly lose I thought.. "now... now!! we can do it now!!" Install was EASY!! we pretty much assembled the bar and all the hardware, including the perches in the drive way with out being under the car. The perches come unpainted, I picked a nice Brake Red and use caliper paint, this provided both a strong finish and should hold up over time. This only took about 10 minutes to put into place and assemble. DO NOT fully tighten the lower nuts until you have re-installed and tightend the strut bolts and strut assembly. The instructions say that the lower assembly nut (on the bar) should be hand tightend and then tightend with a wrench for ONE turn. We did two to be safe.
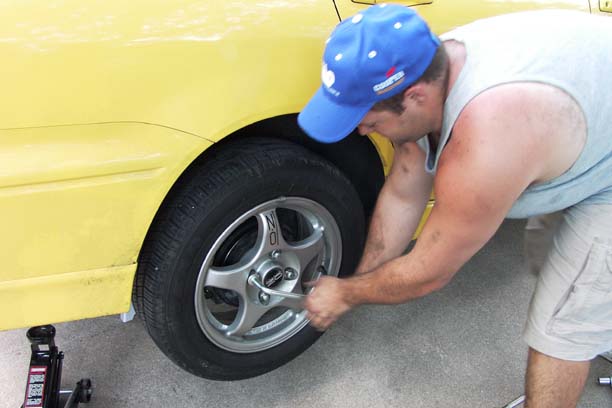
Step #8 Put those rear tires back on and jack that baby down. If all goes well the rear of the car should look lower!! :P
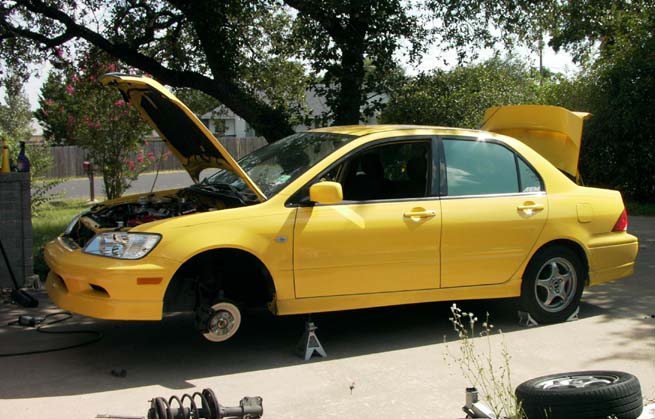
Doing the Front Struts
Step #1 Pick a starting side and jack it up, remembering to do this correctly and using the correct jack points and chalking the rear wheels. (safety first!) The fronts are much easier then the rear since they can come off seperate and everything is much larger =) There are two 17mm bolts that hold the strut to the front arm. Remove these and the upper strut bolts in the engine bay and GENTLY pull down on the front disk (do not push in!!) the strut come up and over the CV boot.
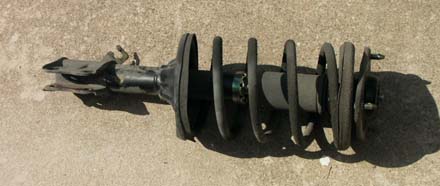
Step #2 Put the spring compressors on and tighten like the rear. Now the hard part. We found that if we didn't have an air wrench we would have spent hours trying to do this. Several people have made custom tools to reach the upper strut shaft bolt. The nut is recessed into a well withn the top assembly. With the air wrench it came off like butter!!. Now when you re-assemble it is VERY important to line up the wholes that are in the top and bottom plates. These MUST line up so that the strut fits correctly. Now reverse all those steps you took to take it off and put it back on. Repeat the other side.
Step #3 after jacking it down the instructions say to roll it back and forth a few times to settle in the springs. NOTE because these springs are not as compresssed as the OEM stock springs you will get some spring noise when taking large bumps or very rough spots. Progress if you email them will send you what they call "noise dampeners" These are in fact just high impact plastic which you put around the upper and lower first coils. As an experiment I only did the front left spring with some hosing we got from the local hardware store. I don't get a lot of road noise from the rear and only now and then do I get noise from the front right. I'm in the preosses of seeing if the noise lessens over time but it only really happens when I hit a hole at 30+ mph. On the safe side if you want you should contact progress or go get some hosing and do it before doing the front springs. Like I said the rear hardly ever make a peep.
Next on the agenda is an EVO VI wing and the new gun metal tails from RRM!! woot!!